How to Use a Lock Washer?
A lock washer looks simple: a small ring beneath a bolt head or nut. Yet a poor choice can leave a joint less secure than expected. This guide explains how to use a Washer Lock Washer, identify common types, and check whether one suits the fastener and application. The details matter. A split washer, for example, should sit flat against a clean bearing surface, not tilted on a painted edge.
Fastener-design author Richard T. Barrett, whose NASA Fastener Design Manual covers bolted-joint engineering, is a useful technical reference. A practical takeaway from that engineering guidance is: “Choose the washer for the joint, not merely for the bolt.” This is a concise summary, not a verbatim quotation. It also points to an important limit: a lock washer alone cannot guarantee that a connection will resist loosening. Vibration, material, surface finish, and tightening method all affect performance.
In the sections ahead, we’ll look at washer orientation, installation, and common mistakes. Check the equipment maker’s instructions and specified torque where available. Feel the parts seat evenly. Small details count. One caution deserves attention: lock washers are not interchangeable, and some joint designs require a different locking method. That can be easy to overlook. The aim is not to add hardware by habit, but to make a reliable choice and inspect the finished joint carefully.
Understanding the Purpose and Types of Lock Washers
How to Use a Lock Washer?
Understanding the Purpose and Types of Lock Washers
A lock washer helps resist loosening by adding spring force or gripping the surfaces around a fastener. It is not a substitute for the correct bolt, tightening torque, or joint design. They are not magic. In vibrating equipment, the washer’s effectiveness depends on the whole connection, not its shape alone.
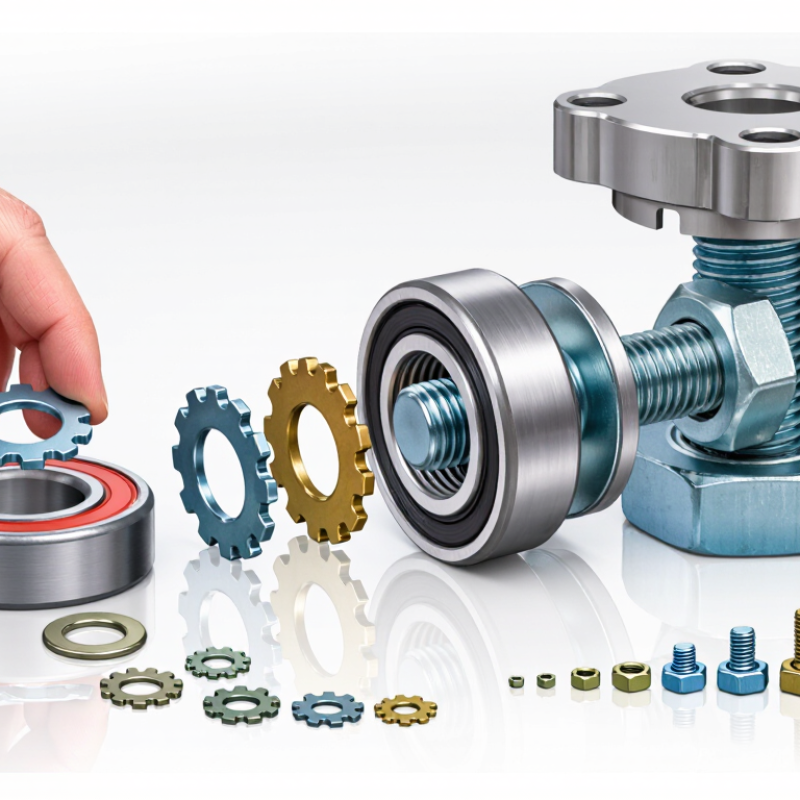
A split lock washer has a cut and slightly raised ends. When tightened, it compresses beneath the bolt head or nut, though it may not prevent loosening in every joint. Toothed washers use serrations to grip mating surfaces; they can mark paint or soft materials. Wave washers provide light spring pressure where space is limited, but they are not designed for every high-load connection. Choose a type suited to the material, load, and level of vibration.
For installation, use the washer size specified for the fastener, and place it directly beneath the rotating bolt head or nut, against a firm bearing surface. Tighten the assembly to its specified torque. Avoid stacking washers or reusing one that is flattened, cracked, or badly corroded. A detail worth checking: some joints call for a plain washer or a different locking method instead. The right choice can be less obvious than it looks.
Choosing a Lock Washer for the Fastener and Joint
Choosing a lock washer starts with the fastener and the joint, not the washer alone. Match its inner diameter to the bolt shank and its outer diameter to the available bearing surface. A small washer can dig into a soft aluminum bracket; a broad flat washer spreads the load. Check the joint material, coating, temperature, and vibration level. For structural bolting, ASTM F436/F436M specifies hardened washers with a hardness range of 38–45 HRC. That figure matters when the washer must resist deformation beneath a high-strength fastener. Fit matters.
A split lock washer may suit a lightly loaded joint where movement is limited, but it is not a universal anti-loosening fix. NASA’s Fastener Design Manual, Reference Publication 1228, cautions against relying on helical spring washers to prevent loosening under vibration. In practice, I check whether the joint needs a locking feature, a hardened bearing washer, or both. A painted frame and a machined steel flange are not the same joint. For severe vibration, engineers may specify tested locking methods and verify clamp load; simply adding a washer can create false confidence. I still recheck the seating surface, because small burrs can distort the load path.
Preparing the Fastener and Contact Surfaces
Before installing a lock washer, inspect the bolt, nut, and mating surfaces. Threads should be clean, undamaged, and free of grit or metal chips. A small wire brush can remove loose debris. Replace fasteners with flattened or crossed threads; forcing them together can create a weak joint.
Check that the washer fits the fastener and suits the joint design. Its inner opening should slide over the bolt without binding, while its outer edge should sit fully against the contact surface. The surface needs to be flat and stable. Paint buildup, burrs, or deep scratches can tilt the washer and reduce reliable contact. It is easy to rush this step.
Clean away oil only when the assembly instructions call for dry threads. Lubrication changes how much clamping force a given tightening torque creates, so follow the specified procedure rather than guessing. Keep the washer centered as you start the nut by hand; it should not ride up on a thread or catch an edge. Check nearby coatings, too. Some toothed washer styles can mark soft finishes, and that detail is easy to overlook. If the surfaces remain uneven, pause and correct the fit instead of expecting the washer to compensate.
Installing the Lock Washer in the Correct Position
A split helical lock washer belongs directly beneath the nut or bolt head being turned. Keep it centered on the fastener, with its flat bearing face against the mating surface. If a flat washer is specified, place it against the workpiece and the lock washer next to the rotating nut or bolt head. That order helps protect the surface while keeping the lock washer in the intended position. A small washer can look trivial. It isn’t.
Clean the contact faces and threads, then check that the washer is not cracked, flattened, or badly corroded. Tighten to the value specified for the joint; do not keep turning just to make the washer ends look dramatically compressed. NASA’s Fastener Design Manual, NASA RP-1228 (1990), describes torque-based preload accuracy as roughly ±25%, depending on conditions. That variation is a reminder: washer placement cannot correct poor torque control or an unsuitable joint design. For critical assemblies, follow the engineering drawing or maintenance procedure, and confirm that the specified locking method matches the application. I still find this detail easy to overlook. A quick position check helps.
How to Use a Lock Washer? - Installing the Lock Washer in the Correct Position
| Washer or Fastener Setup | Correct Position | Installation Guidance | Important Check |
| Split lock washer under a nut | Place it directly beneath the nut, with any flat washer between the lock washer and the workpiece. | Typical order: workpiece → flat washer (if needed) → split lock washer → nut. | The lock washer should sit flat and be the correct size for the fastener. |
| Split lock washer under a bolt head | Place it directly beneath the bolt head, with any flat washer between the lock washer and the workpiece. | Typical order: bolt head → split lock washer → flat washer (if needed) → workpiece. | Do not place the split washer where it cannot bear against the rotating fastener. |
| External-tooth lock washer | Usually positioned under the nut or bolt head, with its teeth engaging the adjoining surface. | Keep the washer centered and seated; follow the equipment or fastener instructions if they specify an orientation. | Tooth style and suitability depend on the joint material and surface finish. |
| Internal-tooth lock washer | Usually positioned under the nut or bolt head, with its teeth facing the adjoining surface. | Choose a washer whose inside diameter fits the fastener and whose outside diameter suits the available area. | Teeth may mark softer or finished surfaces; use a suitable flat washer or another specified solution if needed. |
| Before tightening | Place the washer on the fastener before assembling the joint. | Ensure the mating surfaces are clean, the washer is not bent or damaged, and the threads engage correctly. | Use the specified tightening torque and assembly procedure for the application. |
| After tightening | The washer should remain fully seated beneath the nut or bolt head. | Inspect the joint for correct alignment and check for loosening according to the maintenance instructions. | A lock washer alone is not a guarantee against loosening, especially in severe vibration or critical joints. |
Note: Washer selection and installation depend on the joint design. For safety-critical, high-vibration, or manufacturer-specified assemblies, follow the approved fastener procedure rather than substituting washer types.
Tightening and Checking the Joint for Security
After tightening a joint with a lock washer, check that the washer sits flat beneath the nut or bolt head, with no burrs, paint, or debris preventing contact. Tighten to the fastener or equipment maker’s specified torque using a calibrated torque wrench. A washer is not a substitute for correct preload. NASA’s Fastener Design Manual, Reference Publication 1228, explains that torque-based tightening can produce preload variation of about ±25%, largely because friction changes. That margin matters. Dry threads, lubrication, and surface finish can all alter the clamping force at the same torque.
For a practical check, mark a fine witness line across the fastener and the adjacent surface, then inspect it after vibration or the first operating cycle specified for the equipment. A shifted line signals movement, not a precise measure of remaining clamp load. Don’t simply pull harder with the wrench; breakaway torque can mislead. Look for looseness, washer damage, corrosion, or a joint that has settled. Replace damaged hardware and retighten to the specified procedure. The check can feel repetitive, and it is easy to miss a tiny gap under a washer. Use good light. If the joint’s specification is unclear, pause and verify it rather than guessing.