How to Install a Water Softener in Easy Steps?
Installing a water softener can significantly improve your home's water quality. Hard water contains minerals that can cause damage to your plumbing and appliances. Water softener installation offers a solution to these problems.
Many homeowners find the process intimidating. However, with the right guidance, you can manage it effectively. You will need basic tools and a plan. Take your time to understand the steps. Mistakes are common but can be fixed.
Start by gathering all necessary materials. Ensure your workspace is clear. Measure your space to choose the right system. Follow each step carefully, and don’t rush. Proper water softener installation can lead to long-term benefits, making it worthwhile.
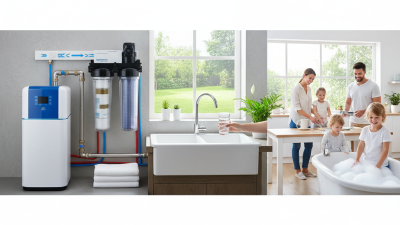
Understanding the Benefits of Installing a Water Softener
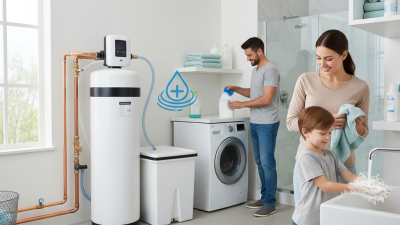
Installing a water softener can bring numerous benefits to your home. Hard water can affect plumbing and appliances. It leads to mineral buildup, reducing efficiency. With a water softener, you can extend the lifespan of your appliances. Softened water prevents this scale buildup. You won't have to worry about frequent repairs and replacements.
Another advantage of soft water is in personal care. People often notice softer skin and shinier hair. It can enhance the effectiveness of soaps and shampoos. You might even find that you use less detergent for laundry. However, adjusting to soft water can take time. Some may miss the “feeling” of hard water.
Additionally, it can help your home maintain its plumbing systems. A reduction in mineral deposits means fewer blockages. You could save on plumbing costs over time. That said, regular maintenance for your water softener is crucial. Neglecting it could lead to problems down the line. Being diligent ensures you reap all the benefits effectively.
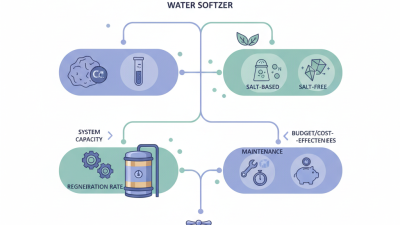
Benefits of Installing a Water Softener
Tools and Materials Needed for Water Softener Installation
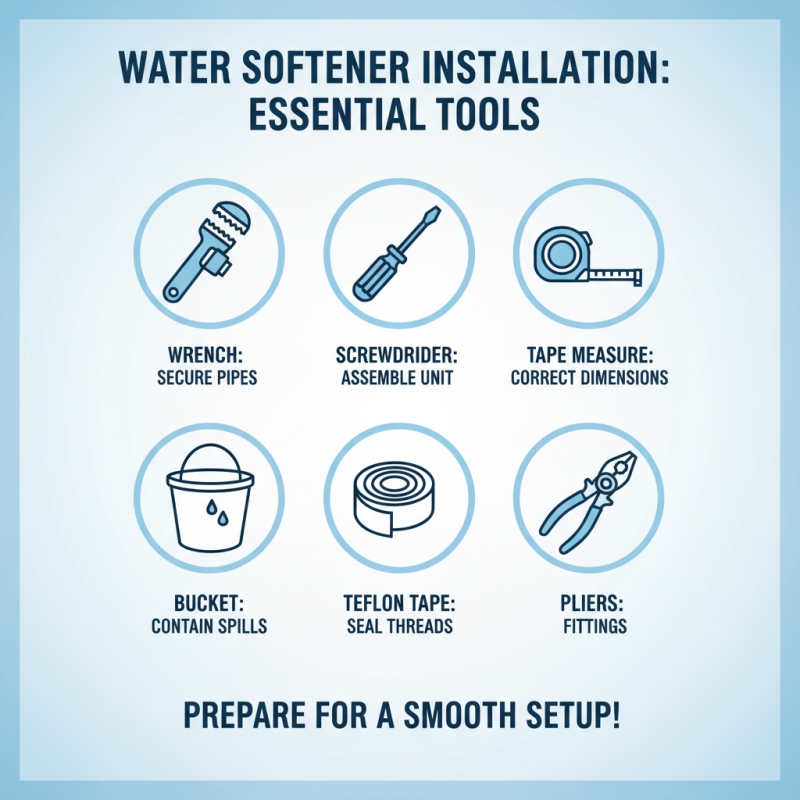
When planning to install a water softener, having the right tools and materials is crucial. Start with a wrench, which helps secure pipes. You will need a screwdriver, too. This can aid in assembling the unit properly. A tape measure ensures you have the right dimensions for installation. Don't forget a bucket for any spills during the process; water can easily get messy.
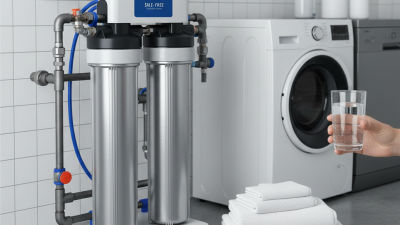
Besides tools, gather necessary materials such as a water softener system. This will include resin beads and replacement filters. You may also need plumbing tape. It helps create a watertight seal, preventing leaks. Some might overlook the importance of having a bypass valve. This fixture allows you to divert water away when servicing the unit. Ensure your installation area is clear and accessible.
Installation usually takes more time than expected. Be prepared for unexpected connections or pipe adjustments. Before cutting any pipes, measure twice. Mistakes in cutting can lead to extra costs. While installation guides are helpful, you might find gaps in instructions. These challenges may cause frustration but provide valuable learning experiences. Embrace the process, and don’t rush through it.
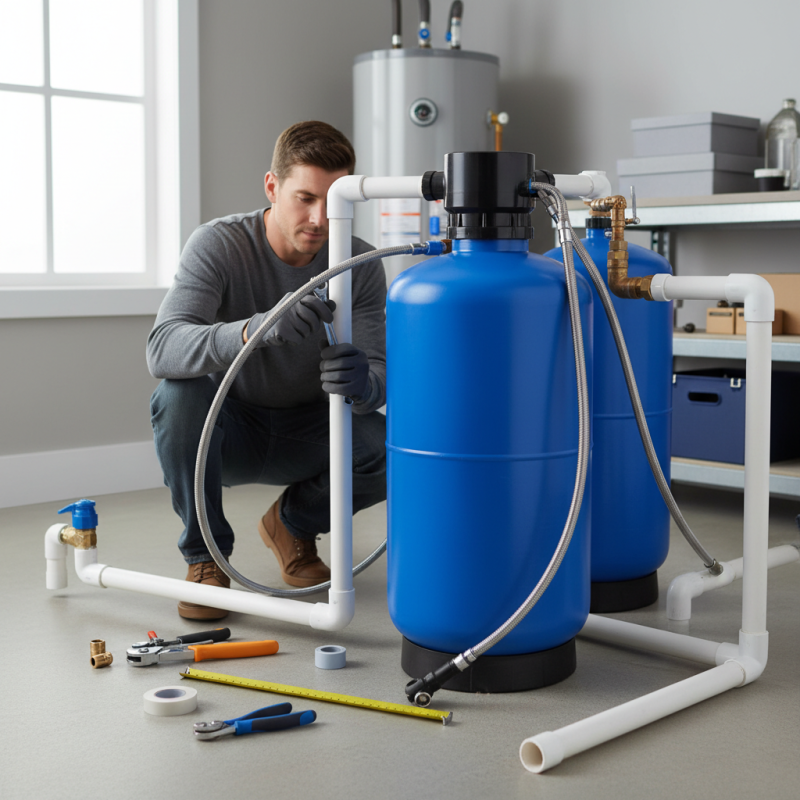
Step-by-Step Guide to Installing Your Water Softener
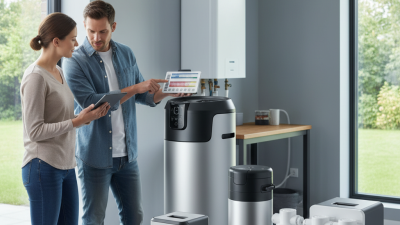
Installing a water softener can seem daunting, but it is manageable with clear steps. Begin by selecting an ideal location, preferably near the main water line. Consider drainage options for the brine tank. Measure the area and ensure you have enough space for the unit.
Next, turn off the water supply. This step is crucial to prevent spills. Cut the main pipe, making sure to prepare for proper connection. Use appropriate fittings and connectors to ensure everything holds tightly. You might face challenges aligning the pipes correctly. It's okay; take your time adjusting them. After the connections are secure, check for leaks.
Once everything is set, fill the brine tank with salt. Then, turn the water supply back on and let the system run. Monitor it closely for the first few days. You may notice small issues, like changes in water taste or pressure. It's important to address these right away. Adjust settings as necessary. Patience is key in this process. Success lies in careful checks and adjustments over time.
Common Mistakes to Avoid During Installation
Installing a water softener can greatly improve your home's water quality, but certain common mistakes can complicate the process. One major error is misplacing the unit. It is essential to install it near the main water line and a power source. If not, you risk poor performance. Take time to plan the location carefully.
Another frequent mistake is improper plumbing connections. This often happens when installing bypass valves incorrectly. If the bypass is not functioning, it can lead to costly leaks. Ensure you follow installation guidelines closely. A simple oversight can result in significant headaches later on.
Many homeowners forget to regenerate the system regularly. Neglecting this step can lead to inefficient softening, which defeats the purpose of the unit. Remember to check the salt levels too. If the tank runs dry, it might not work at all. These small details can make a big difference in maintaining optimal performance.
How to Install a Water Softener in Easy Steps? - Common Mistakes to Avoid During Installation
| Step |
Description |
Common Mistakes |
Tips |
| 1 |
Choose the right location for installation. |
Not accounting for space around the water softener. |
Ensure sufficient space for maintenance and salt refilling. |
| 2 |
Turn off the water supply. |
Forget to shut off the main water line. |
Always double-check the shut-off valve. |
| 3 |
Install the bypass valve. |
Incorrectly installing the valve. |
Follow manufacturer instructions carefully. |
| 4 |
Connect the water lines to the softener. |
Using the wrong size or type of fittings. |
Check compatibility of fittings before installation. |
| 5 |
Fill the brine tank with salt. |
Not using the correct type of salt. |
Use high-quality salt for better performance. |
| 6 |
Turn the water supply back on. |
Not checking for leaks after starting. |
Inspect all connections for leaks immediately. |
| 7 |
Set the control settings. |
Ignoring water hardness levels. |
Test your water hardness before setting. |
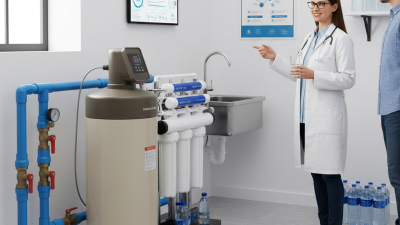
Maintenance Tips for Your Water Softener After Installation
Once your water softener is installed, maintenance becomes essential. Regular maintenance ensures that your system operates efficiently. In fact, the Water Quality Association indicates that proper care can extend the lifespan of your water softener up to 15 years.
Start with regular salt checks. Many systems require salt levels to be maintained at least halfway full. Inadequate salt means ineffective softening. If your water has a high hardness level, you might need to add salt more frequently. Pay attention to the type of salt used; some systems work best with specific kinds. It’s also important to clean the brine tank annually to avoid buildup.
Another critical maintenance aspect is to inspect the resin beads. These beads capture hardness minerals, and over time, they can become ineffective. If your water feels gritty or has spots, resin replacement might be necessary. According to studies, up to 50% of softeners function improperly due to neglected maintenance. Regular inspections can prevent costly repairs down the line, leading to improved water quality and efficiency.